Showing posts with label paper bags. Show all posts

1.23.2014

DIY paper bag portfolios

For my art lessons, I was in a pinch as to how to store my 8th grader's artwork for this session. Luckily during one of my restless nights of sleep, I came up with this quick solution using paper bags! It was really easy and immediately solved our storage problem, for super cheap too! 

Supplies: 
  • A large paper bag (the larger the bag, the larger the portfolio will be)
  • Scissors
  • Wide tape (if it's colorful, even better!)
1. Carefully cut out the bottom panel of the paper bag, right along the edge. 

2.  Pop out the side panels so they fold out to the side instead of towards the middle. Squish them flat right along the side panel's middle fold.

3. Run a strip of wide tape all across the bottom edge with half of it hanging over the edge. Carefully fold the remaining half of tape to the other side of the portfolio. Trim the edges if needed.

4. Reinforce the handles with more tape. Now decorate and fill it with all your special creations!

Want some more ideas for how to up-cycle and repurpose your paper bags?

7.21.2012

bookmaking workshop: kiddo version!

This week I taught a bookmaking workshop with Arts Outreach to nine little kiddos, from 7 years old to 12. Overall, it went really well! The kids were really enthusiastic about all the projects and making books! I wish they were all a little older though so I could teach them some more complicated binding techniques. Because teaching binding to little guys can be hard! 


I tried to take more photos this workshop too. My other two workshops, weaving and printmaking, were pretty poorly documented. There may not be many photos of this past week, (if a workshop is never photographed, did it ever really happen?) but at least there are some!


My favorite bits are all the titles they came up with, and all their spelling errors. I'm an obsessive speller but I'm so entertained by little guys spelling mistakes. 


I started off the week with making my little paper bag notebooks. Great way to introduce them to binding, especially since it's a really easy one and requires very few complicated or expensive materials. Just some paper bags, scissors, glue and clamps! And little fingers to smear the glue into all the cracks along the spine. 


We also bound some abstract books. I had the kids cover pieces of paper, front and back, with random collages of papers and drawing. Then we cut them up into pages, leaving the final result of the book a surprise until it was fully bound up. This was another easy binding, the good 'ol rubberband and paperclip technique! 


I wanted them a learn a really easy real binding method as well, so I taught them a basic 5 hole bind on another day. They loved it! (after a few knots and tangles of course) Most of the kids made more than one book this day, including mini books. These were probably their favorite to learn. One girl make a second one and started embroidering the cover. 


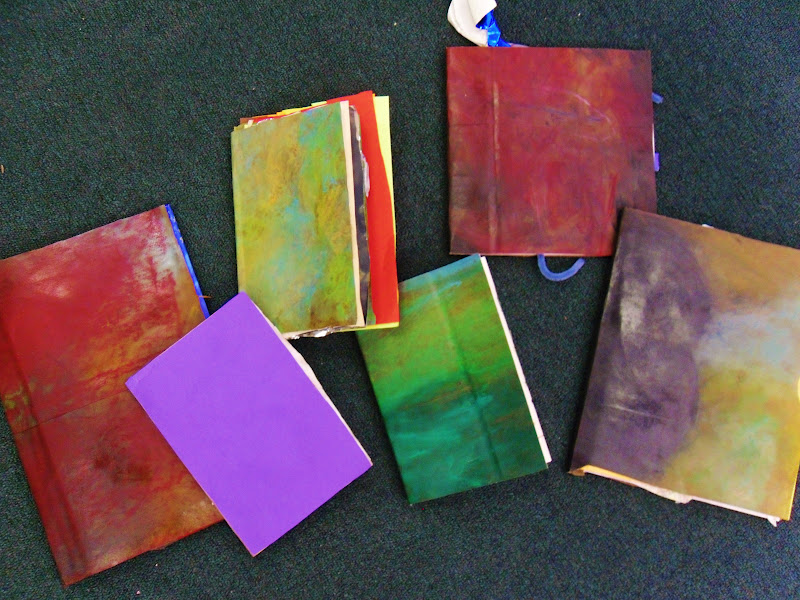
The big project for the week, and my favorite, was the altered book project. Like other times I've taught this, I first had the kids use baby oil and pastels on a big panel from a paper bag and just cover it in color. Once it soaks in a bit and I spray it with some sealer, the paper takes on a colorful leathery look. We used a bunch of old books of my sister's collection and used those as our canvases to rip/destroy/draw/paint/collage/sew etc! These were my favorite products from the class. I think the kids enjoyed it too, having the opportunity to freely destroy and alter a book to their liking. It took them a little bit to get used to the idea that they could draw on any and every page and it was allowed! 


5.28.2012

paper bag details

I love objects. Always have, always will. I love arrangements of objects too. And I love small objects. Re-purposing found objects is always a joy too. And above all, I love practical objects. Now if it's any combination of small, practical and re-purposed, yeaaa I probably really love it. 


This may be why my room and art bubble are littered with tiny vintage bottles housing pearl snaps, espresso cups holding pins and buttons, dinosaurs as succulent planters, porcelain unicorns and three-headed dogs carrying necklaces and watches, and many versions of re-purposed paper bag parts.


My continuing fascination with up-cycling our household's mountains of paper bags has proved fruitful once again! So far, I've found uses for the handles via small woven baskets (tutorial to come soon, since summer is coming and I must teach small children in a well-versed and easily understandable manner....oh dear.)

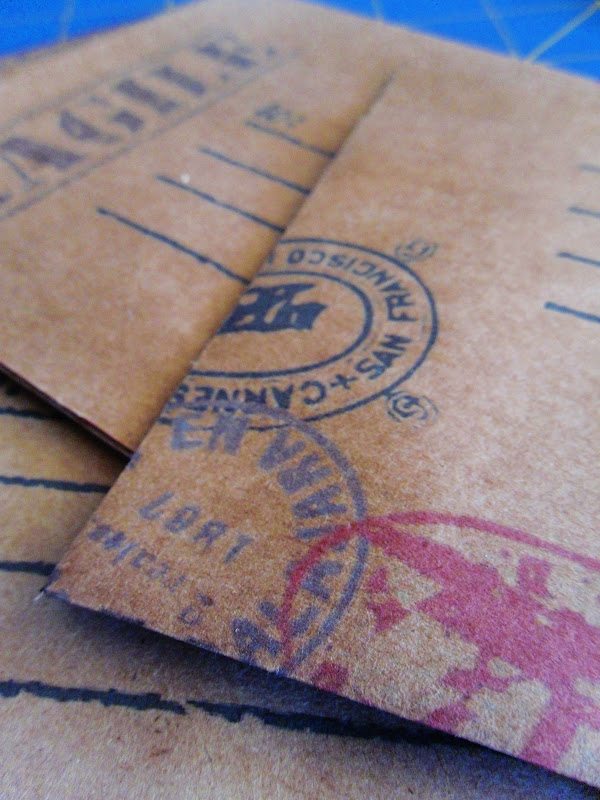
The large side panels have found new homes through paper bag folders, oil pasteled book covers for my kiddos (another one coming...), and most recently, as my new shipping envelopes for my Etsy items! SCORE! I'd been wanting to use handmade envelopes for a while and after reading this post from KristanLynn over at adelynStone (complete with free envelope template!!!) the inner computer nerd in me woke up. After editing and tweaking, I'm finally happy and stoked with my new envelopes.


After the handles and large sides from the bag leaves the base and skinny side panels -- which I'm happy to say have also found a new home...as a small and practical object nonetheless! When cut down, the narrow side panels are the perfect size to make mini notebooks! With the crease already in the center, all that's left to do is cut them down to size and bind them up! Another one to post about asap this week  (EDIT! The DIY is UP! Here!). Luckily, they're super easy to make to. 


So this just leaves the base of the folders...which I'm at a loss of what to do with them, other than turn them into compost. We'll see if they find their way into the art bubble as another up-cycled, little object...

3.24.2012

paper bag folders

I've been teaching some collage classes through a non-profit called  Arts Outreach. For the last session, I had my students use oil pastels and chalk pastels on panels from paper bags to use as covers for their books we were collaging into. After the class, I was left with PILES of small panels, large side panels and handles, which I couldn't stand to throw away after emphasizing repurposing with my kids for 6 weeks.

So! I started playing around with the extras...I've come up with two results so far using the handles from paper bags and the large front panels. With the handles I ended up weaving them into little baskets to hold my succulent plants (which I will make a post of soon, since I'll be teaching my kids this summer how to make them!)  and with the large panels I sewed them into some folders.

Cut the large front panels off of the bags, the side with the handles, right along the edge of the panel. You'll get 2 folders from one bag...


Next you'll need to take the handles off. Pull them off gently so you don't rip a hole in your folder. Toss 'em if you want or hold on to them for other projects...like weaving baskets!


 Fold them in half, or stagger them an inch or so if you want to see inside or the lining paper. Either way, make sure you fold them with the writing on the inside of the bag.

At this point, you can either leave them unlined or pick out some paper to put inside. I liked lining the folders that had the scalloped detail on the top edge...gives it a nice little pop! Cut the paper to the same size as the whole folder...or be lazy like me (and prettyful paper conservative) and cut enough to line just the visible side. Secure it with a little bit of glue to keep it from slipping around while you sew.


Time to sew! Sew the liner paper on first by going across the top and bottom edges. Then fold everything up and sew the sides. I would recommend sewing from the bottom up (or the base of the folder up to the opening).


All done! Now find stuff to put in them! I've been using them for storing small scraps of watercolor paper, scrapbooking paper, work stuff and even paper scraps from my classes with the kids! Let your kids organize their stickers or cards or what have you. You can write on them to keep more organized and if they get messed up it's no biggie!


Now I just have to find uses for all the rest of the scraps...baskets for the handles but I'm thinking handmade journal covers for the side panels...we shall see....more upcycling and repurposing projects to come!